Yes, we can't seem to focus on a single project. Last time I blogged we were still working on the factory scene with an rpg like feel. Now, we have changed direction and have started working on a robot game.
Chris has a wonderful story idea, that I will allow him to reveal in his time, but we are trying to start out in a junkyard with our main character. Creating the junkyard has proven very difficult… still I think we're making progress.
So where to begin? The saga of import/export hell has finally been cleared and we've been brought into the heavenly light of a workflow that seems to be working.
Static models have been exporting/importing fine. The trouble is the animated models. We've been working with the fairly simple enemy soldier model to find the best way to go about export/import workflow.
Blender's fbx exporter consistently gave us nothing to import. The collada export also gave us nothing to import. Obj's obviously gave us great static models, but no animations. We recently tried a plugin specifically for exporting to Urho… which worked to a point. The mesh was fine, the skeleton was fine, the animations were fine… but the weight painting was totally borked.
Today, I finally did a crazy test. I downloaded the trial version of Maya, and imported the enemy soldier and used the Maya fbx exporter. Imported into Urho with COMPLETE SUCCESS!!! Let me tell you that was a wonderful and troubling moment. It worked. But why!?!
With this information under our belt, we had new search terms to work with. We discovered the Autodesk FBX Converter which is a free tool that works. Now this seemed to be working for everything except for one annoyance. The mesh would end up having a 90 degree rotation offset from the skeleton. Perhaps we'll find an elegant way to solve this eventually, but having figured out the problem, I just brute forced the fix.
Thus! Official export/import workflow is as follows:
create model
create animation on animation rig
bake action so that it works on deformation rig
weight paint
in the weight paint tools, be sure to click Limit Total and set to 4
select mesh in object mode, rotate 90 degrees on x-axis
press ctrl-a and apply rotations
select mesh, then export as fbx with following options:
check 'selected objects'
scale: 1.00 (default)
Forward: -Z forward
Up: Y up
blue highlighted Armatures and Meshes
check 'apply modifiers'
smoothing: Off
check 'include animation'
check 'include default take' (haven't tried all actions yet)
check 'batch own dir' (default)
add the resulting .fbx to the fbx converter and convert using the 2013 version
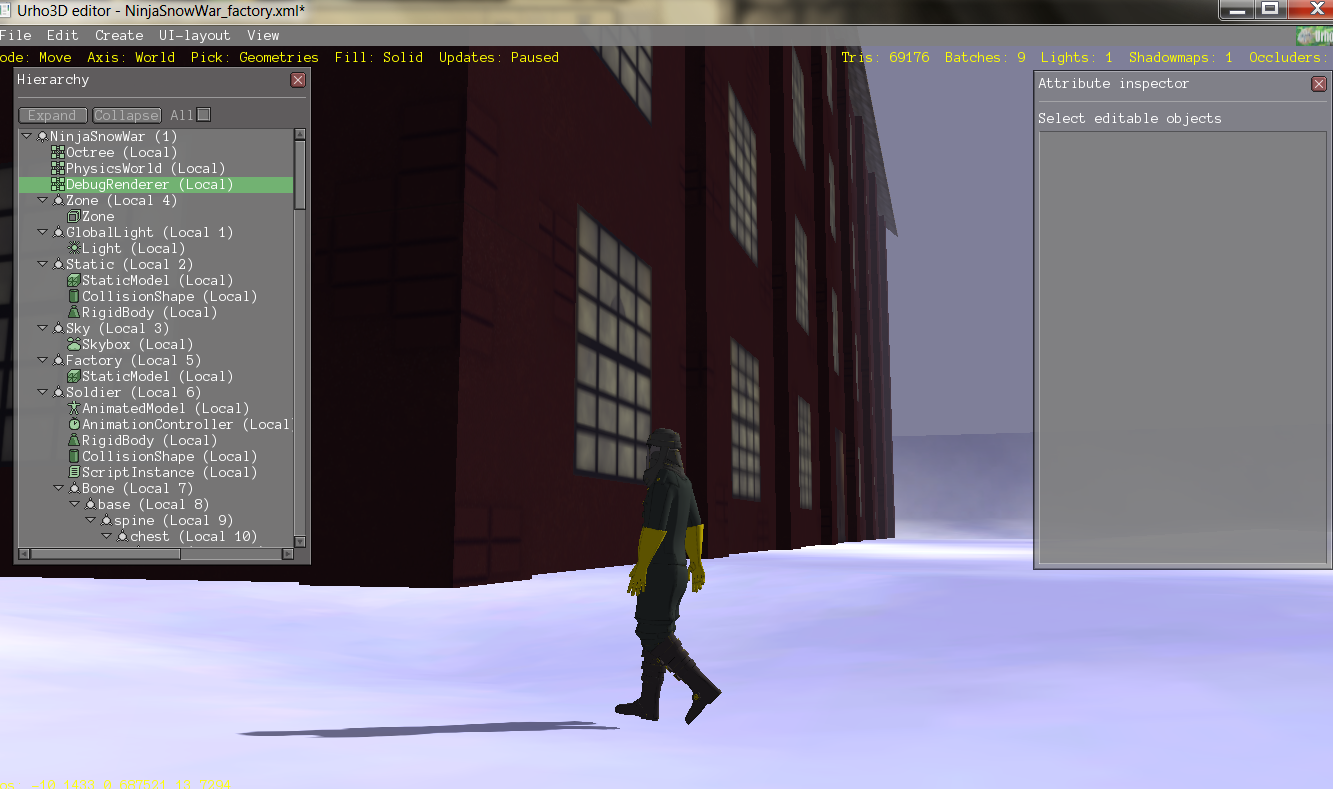
open the urho editor
import fbx
delete static model
create animated model
edit animated model to point at new model.xml
change animation takes to 1 and point to model_animation_takes.ani
test it!
add the rest of the required bits to make your animated model usable and save the node
Poo. That seems exhausting! LOL. Way less exhausting than several weeks of unsuccessful trials. Counting my blessings and looking forward to a good night sleep.
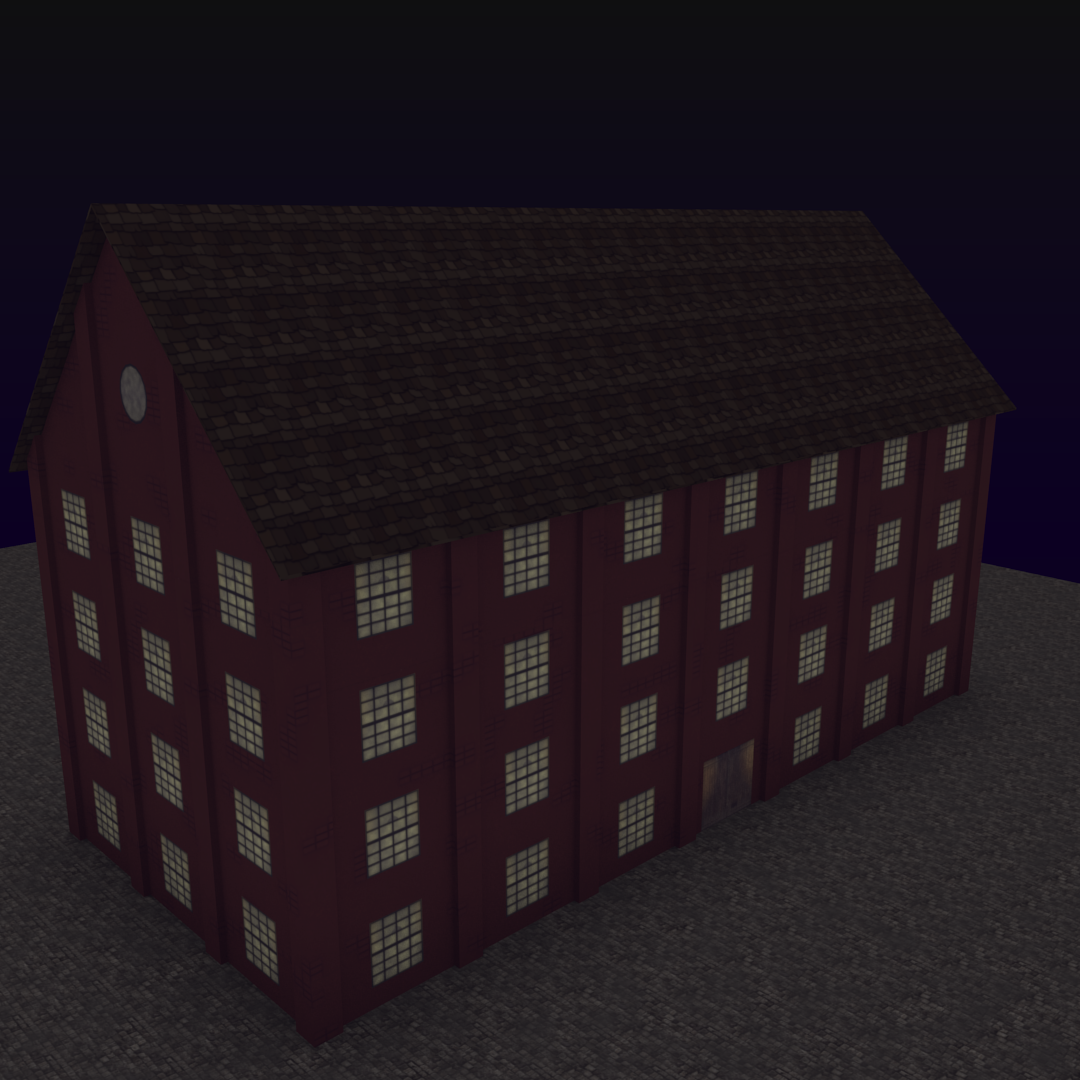
After trials and tribulations, we have had some success! This success is in the shape of having finally gotten a model, with textures, to import into the engine and display properly. Yippee! Yes, it's a static model, but it also has 5 textures.
The trials started when I got the grand idea to use blender's group feature. I would make a model, then put it in a group so that I could design a level with just instances of that original model. Works great in blender! On the other hand, trying to export instances of models gives you absolutely nothing. So, I reworked the model so that it was as simple as possible, all the meshes joined, and the textures uv mapped happily. Now I have a basic factory exterior to work with in the engine. Yay. (Screenshot is in the works… who knew? print screen doesn't work in our engine, so a bit of code is required to grab an image of the viewport)
On a different front, I had a bit of fun with some music over the weekend. I was frustrated with import/export crap, and was ready for something a little more rewarding. This is still certainly a work in progress, but I think it carries the vibe we want for the industrial town.
Just finished getting the factory exterior ready for outdoor gameplay. This is an ultra simplified version of the original model without any interior fittings. I will be making seperate files for each floor of the interior as well. But for now, we could easily make a factory town and walk around outside the buildings.
Just a bit of animation and rigging yesterday. Chris requested a punching animation, so I got down to working on that. In the process, I added to the rig to make creating a fist a lot easier. First I added a copy rotation constraint to each subsequent finger bone so that I would only need to move the first joint to bend the entire finger. Then I added a 'make fist' bone. I created an action with all the fingers wide open to closed in a fist, then added an action constraint, using the 'make fist' bone's Y-scale as the controller.
Thus, a quick sketch of a jab with fists closed came about. I baked it to a seperate action and applied it to the deformation rig.
I'll be working on cleaning up and elaborating animations the rest of this week, is my guess.
Another weekend has passed. We didn't work much on the game. Yay! Chris got a new game (Hammerwatch) which he and Jake played nearly non-stop all weekend. This was quite refreshing for me, as I got to watch and get some happy knitting time in. Now, we did get some game stuff done, though…
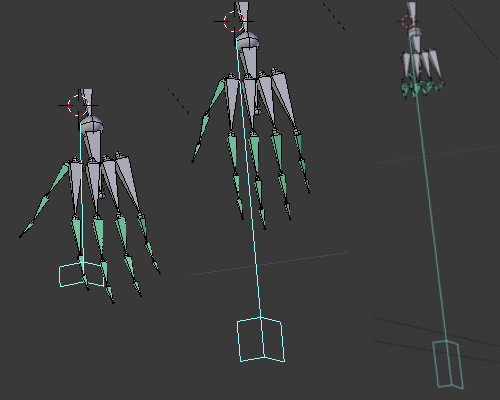
So, I ended my week being very frustrated with rigging exporting/importing. Nothing seemed to work. Well, I found a solution… although we still haven't successfully imported the animations and had a character fully animated in the engine. Poo for that part… but my rig is fine, I do believe.
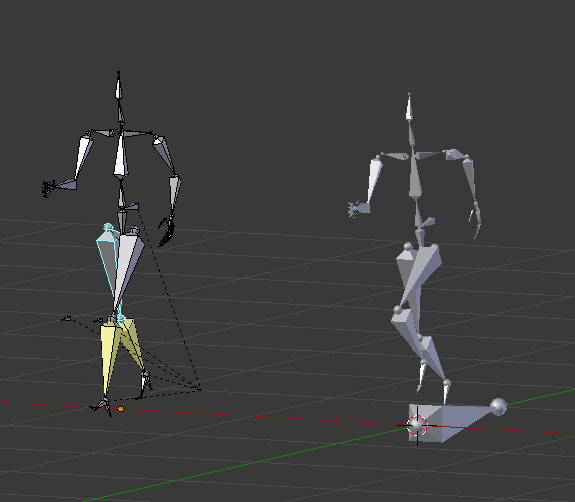
The solution. Rigify's features are so exciting and easy to use, and yet, adds too much complication for exporting to a game. So, I decided to use the original simple rigify human-rig. Using this, I duplicate it in object mode. I now have 2 completely seperate rigs. I renamed them 'def_rig' and 'ani_rig' respectively. Now, I can add IK constraints and specialty parts to the ani_rig while keeping the important bones named the same as the def_rig. This means that I can bake any actions I create, and then just apply them to the def_rig. That means no more 'too many bones' errors when exporting since there is only the 61 bones of the basic rig.
I plan on adding to my ani_rig so that it's even easier to animate… but for now, I can get some basic walk cycles and such finished so that Chris can play in the engine.
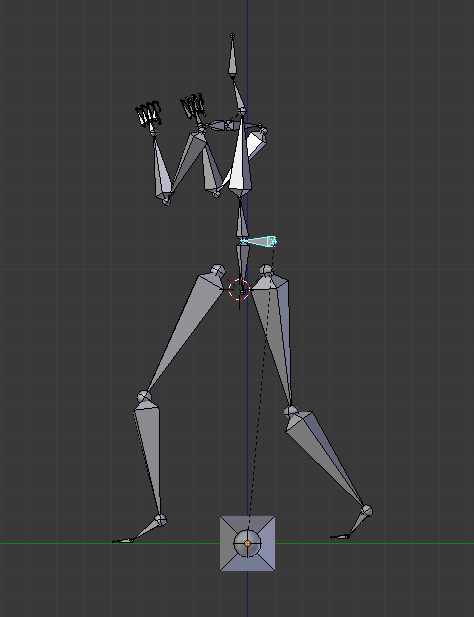
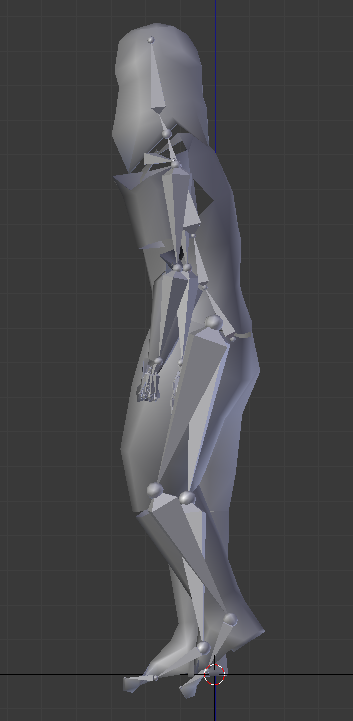
Yesterday, I worked pretty hard. I had the exciting discovery that Rigify was updated to include FK/IK settings and customizable bone layers. All very exciting! (please excuse me if this was updated years ago). This discovery led to a rigging/weight painting session for my very basic enemy soldier. It was amazing! I had him rigged and weighted within a half hour! Now, to be fair, there's still some weighting issues… but to see a character at the point of animation within a half hour was unbelievable to me. So, I threw on a quick walk cycle, and then the horribleness began.
Chris was super excited to have a character to import into the game engine. Which meant that we started the exporting frustration stage. We have used several different game engines, and every time we try to export something from blender into the engine, something invariably doesn't work. This time, foregoing the rig, we were fantastic! He looked great in the engine! Try to add the rig and animation… yeah, it wouldn't export. We had some sort of vertex masking exception. This was nearing midnight last night, so I didn't pursue the error.
Then came this morning. Open up my blend file, and the rig went wonky! Suddenly hand and toes and fingers were all on backwards! SOOOOO frustrating. I confess to being lazy and just deleting the rig and redoing it (partly out of lingering excitement as to how easy this process was yesterday). This time I did adjust my model instead of the rig. I'm hoping that will prevent anymore rig wonkiness in the future.
So, that's the story so far. Here's the basic soldier with his basic walk cycle.
So, the daily blog almost stayed consistent. I had a busy weekend, with an accompaniment gig, and a band concert. Then I got my club yarn on Monday… our new bed arrived on Tuesday… and Chris' new, envy-worthy video card came just today! Been a busy week.
I finally got back to game stuff yesterday after a general mind block as to what to do next. Not much accomplished, but I did get the Factory split into levels for ease of use later on. Also, I did a little experimenting with motion capture. Not as in capturing my motions, but just exporting the actions from one character and importing them and applying them to another character. My results: not so good… :(
My first, cool concept for the conveyor belt fell through. It was just not practical to complete for any sizeable model (although, I did get it working on the prototype - yippee!) So, here is the not nearly so cool version that I'm going for now.
It really does show the scale of the factory building… which is exactly what I was going for. Sadly, it also means that I have a ton of stuff to put in there to make it look conceivable. Just a basic material is used for the conveyor so far.